Showing posts with label My attempt to create food. Show all posts

Friday, March 8, 2013

because people have asked

This post is really long. There is just so much I have to say....
 
I feel like I've opened up a lot about my health. I used to never share with anyone about my battles with infertility. And my crazy wacko hormones. But I'm learning that the more I open up to others, I find networks of people who can relate to me in some way. And because (at least for now) I have decided to take a more natural approach to my situation, people start to get really curious. I have seen a lot of doctors, had a lot of consultations, I even had a consultation for in vitro. Not that we were really considering it, but I wanted to be informed and keep my options open anyways. Because my body can't quite get this whole hormone thing right (it all stated with insulin resistance), it most likely would not be able to carry an infant to full term, especially because of the lack of progesterone I create. And, high chances are, that if I were to carry an infant to full term, it would prob be low birth weight and very nutrient deficient. But I try to not worry about that right now. Today we are focusing on actually getting my body to have a complete menstrual cycle. And absorb the nutrients I feed it. Just one day at a time.
 
I do not tell you this stuff to make you pity me. I do not pity myself. In fact, there are times when I am grateful for this trial. I have learned so much about health the past few months. Sure it would be nice to have perfect health, but seeing as that didn't happen, I've learned to see the positive side of things.
 
So here is my plan. I've got to heal my gut. If I can heal my digestive system, rid my body of toxins, actually absorb the nutrients, and create a happy climate for my reproductive system, then I'll be able to have a healthy baby- without all of the meds. I'm not knocking out western medicine at all. Because I am still in the beginning stages of this, and am completely open and okay with getting some help from doctors if needed. And, I am seeing a doctor right now who tests all of my levels, and gives me guidance in a more natural approach.
 
I'm doing it mainly through the GAPS diet with some Paleo diet as well. Mostly a primal diet. Real food, not junk. No preservatives. No canned or boxed food, not that we used much of that stuff anyways. No refined sugars or carbs. No commercial animal products. No high starches or gluten.
I could go on and on about what I can't have, but I'd rather focus on what I can have. Haha.
 
Basically I have been eating a lot of veggies, REAL meat where the animals see the sun, aren't treated of antibiotics or hormones, and preferably ate a natural diet. The same goes for all other animal products. I eat fresh fruit, though I try to not go overboard, because its still sugar. I enjoy all kinds of nuts too.
 
I have to take it one day at a time or else I get overwhelmed. And when I am doing well, I feel great! My meals are pretty simple but yummy and I feel like I am finally starting to get the hang of it.
 
Some yummies I've been wanting to try...


I keep the majority of my recipes and ideas on Pinterest. Here are a few of my boards if you are looking to eat a little bit more healthy.


MMMM! I'm getting hungry looking at these pictures. I'll be documenting this journey and track my progress on here. If you have any questions, feel free to ask me and I'll try to answer them!
 
K seriously though, I'm now starving. Bye.


Thursday, May 3, 2012

What I'm Loving

via
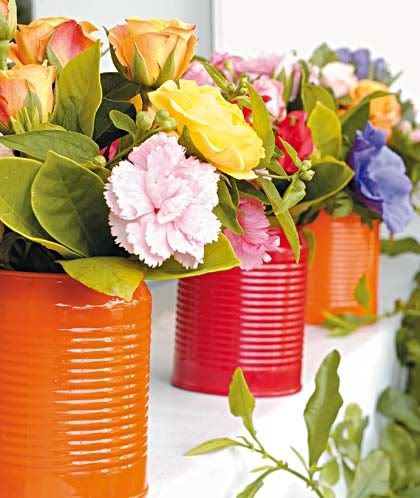
How pretty are these?! I think I'll be saving a few of my cans for this projects, looks so easy!


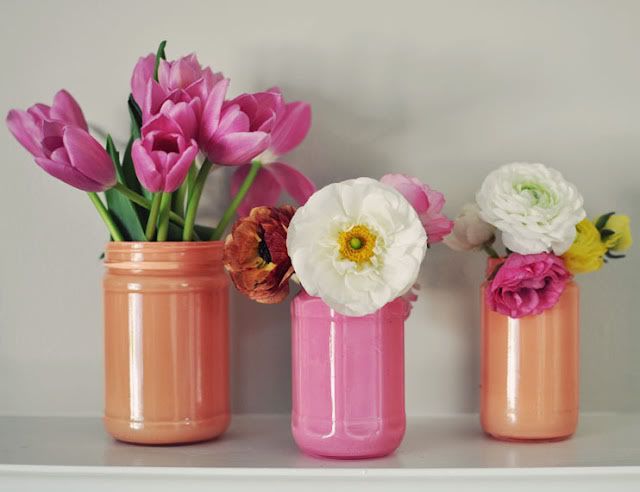
I just love these ones too! I think I'll have to do a mix of both. Now to find a place to put these in my house.....


Anybody else think this is just gorgeous??? Definitely on my project list!


Hahahaha! Every single day...


Bacon Ranch Foil Packet Dinners. Um, so yummy! I made these for dinner last week and they were quite the hit! So simple and fast too. (Side note: I added a few more spices, onions, and Parmesan cheese to mine- heaven!)


And 3 thoughts for you my dears...

- Poor Jimmy woke up sick today. Boo-hoo. He looks so cute snuggled up on the couch in a kind of sad way.

- Upset about Picnik leaving? Me too! BUT, I was introduced to a free website just like it- go check out http://ipiccy.com/

- My not so baby sister graduated from college with her associates last week- before she even graduated from high school. What a smart, smart lady!


Hope you all are having a great week! Soak up that sunshine, baby!


Sunday, April 22, 2012

We like to stuff our faces with food...

Our weekend was a good one! I love that Summer has hit and the hubs is pretty much out of school.

We mainly spent our weekend cleaning out our extra bedroom, Jimmy getting his orange belt in karate, a lunch date at my favorite restaurant ever- Tucanos (heaven sent as usual), laying out in the sun for hours, reading books, getting sunburns, enjoying our little garden, and grilling for Sunday dinner.

*Yay hubs! He worked so hard for this. He really was the best out there- kicking trash and looking hot too...swoon! :)*


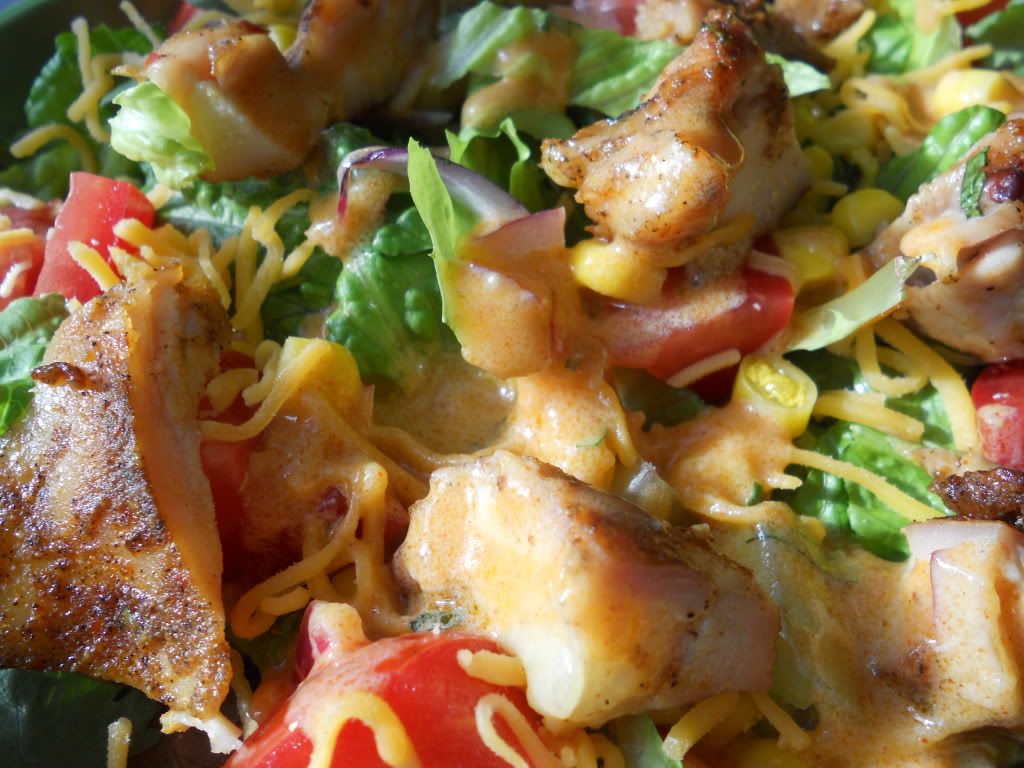
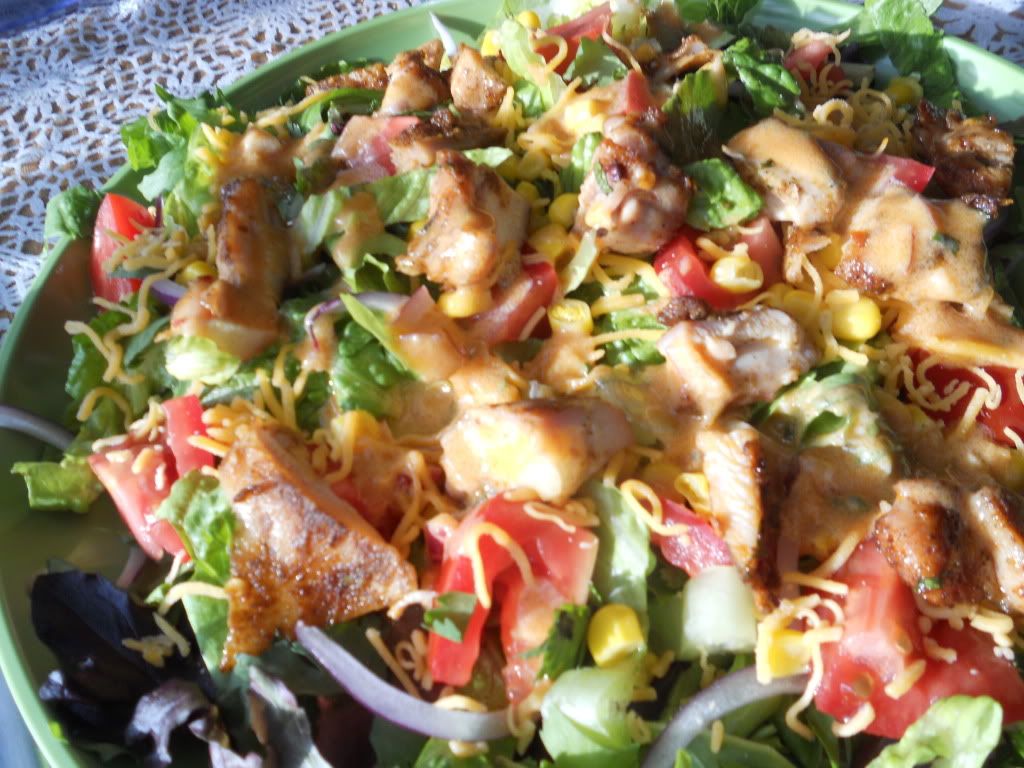
As a part of my "try 5 new recipes" menu this week, I made Santa Fe Grilled Chicken Salad for dinner. It. was. so. yummy. A mixed green salad topped with cilantro, corn, red onion, tomatoes, cheese, and grilled chicken patted with various spices, and then topped with a homemade dressing that included lime, sour cream, honey, and more spices. And it was so fast and easy- I had everything done by the time the hubs had gotten the chicken on the grill. That recipe is a keeper for sure!


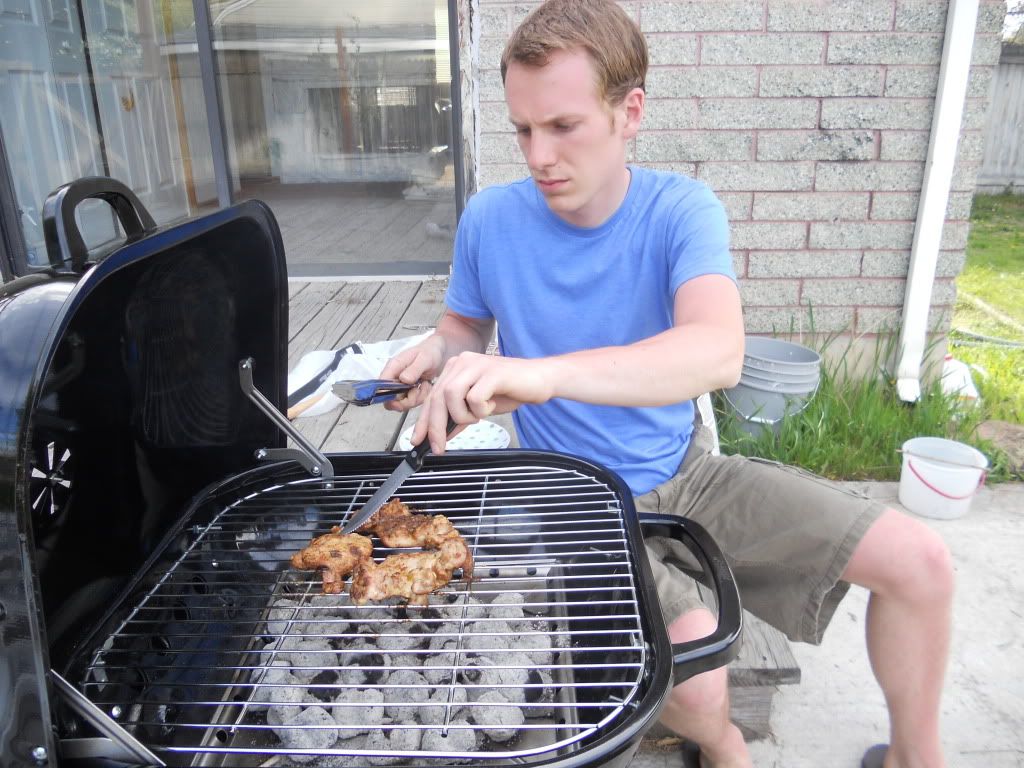
*hubs was so kind to work that grill for me- he did a fine job too!*


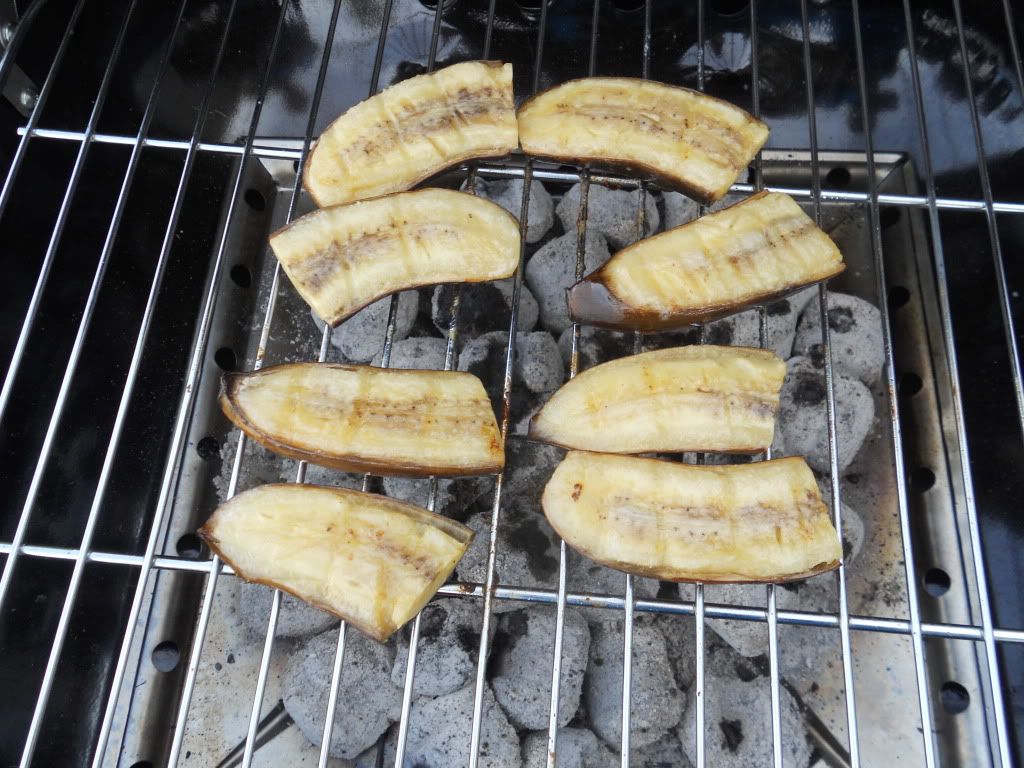
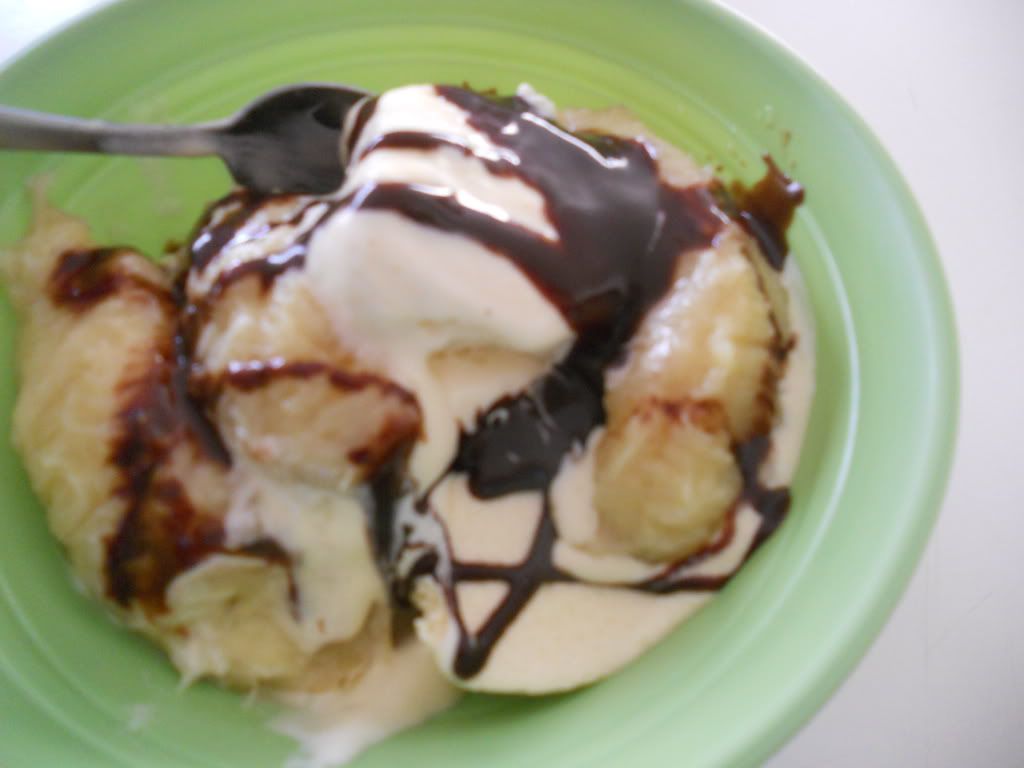
For dessert (just because I still had a hot grill and most of the ingredients on hand) I put together a couple of Grilled Banana Splits. Its pretty much your classic banana split, only you grill the bananas so they have a chance to "caramelize" themselves- yum!


*sugar overload!*


*taken while basking in the sun today- I like to think my little Nikon Coolpix point and shoot is starting to like me a bit more!*


Enough about me, what was your weekend like??? I'd love to hear!

Sunday, April 1, 2012

Here's to a new start!

This weekend was a bad one.
 Flat out bad.
I know, negativity on this blog?
 This blog is my "happy place" where I like to focus on the positive points in my life, but sometimes the not so great times kick in too. 
 Like, you'd find Jimmy hiding up in the bedroom (I'd say someone was protecting himself!) today. Lets just say I wasn't feeling so great at all- physically and mentally.
But luckily tomorrow is a new day and is calling for a fresh start.

Oh, you want to know why I am sharing this Debbie Downer post with you?
Well, mainly to inform others out there who may be in my position.
 "The Leaky Gut Syndrome" is what I have. 
In a nut shell, its fairly common for Americans to have it. (Thank you American Diet.) Basically the syndrome is where your body absorbs toxins from the food you eat because it can't process and get rid of it. "If the intestines become so bothered, irritated and inflamed getting compromised to the point of no longer working suitably, Leaky Gut Syndrome is created. The lining of the intestines actually “leak”, letting fungi, parasites, bacterium, fat, waste and undigested proteins seep into the bloodstream" source
Some symptoms include:
-memory loss and brain fog
-hair loss
-weight loss
-bloating
-fatigue
-tummy aches
-gas
-heartburn
-headaches
-arthritis
And more

Cutting out processed and harsh foods helps heal "The Leaky Gut Syndrome." It just takes time and determination to stick to a strict diet. But you will feel so much better!

If not taken care of, "The Leaky Gut Syndrome" leads to many other health issues. One being Celiac Disease. (Which I am pretty positive I may have.) Celiac Disease may cause:
-cancer
-Lactose Intolerance
-nausea
-vomiting
-weight loss
-depression
-anxiety
-hair loss
-missed and irregular periods
-cramps
-nose bleeds
-tingling and numbness in hands and feet
-diarrhea or constipation
-frequent miscarriages
-infertility
And some others

Yikes! This is pretty serious stuff guys! People who have Celiac Disease need to eat a gluten free diet. Yes, our health really does depend on what we put into our bodies!

So here is to a new week with a fresh start. A new diet will be taking place around this house. Becuase I have most of the above symptoms, and it is not fun to live with!

 Any helpful tips, info, and recipes you may have would be greatly appreciated!

And thanks to those who have been so helpful so far! AKA mom, Kenna, and hubs.


Monday, March 12, 2012

A Thanksgiving Feast!

The other day I was craving a Thanksgiving feast. When I told Jimmy my idea to have our own feast, he more than agreed, as long as we could fit pie in there too!
So we made and enjoyed our own little Thanksgiving feast yesterday!
Of course we had to improvise a bit. I didn't have a turkey, and quite frankly I didn't want to buy one either. So instead I used a whole chicken that was sitting in our freezer.
Yummmmm-ay!
We stuffed ourselves sick. Literally.
I made sweet potatoes, stuffing, wheat rolls, salad, carrots, banana cream pie, apple crisp, and a roasted chicken. Jimmy made some killer mashed potatoes, and my bro-in-law joined in for dessert with some homemade pumpkin pie.


Spinach salad with oranges, apples, candied peanuts, and craisins. No dressing needed. My favorite way to prepare a salad!

I think Jimmy rocks his apron well. :)

Apple crisp, chocolate chip cookies (I just needed to get rid of those!), banana cream pie, and pumpkin pie.

stuffing and the roasted chicken


My first roasted chicken. I was super nervous preparing this, but it actually turned out nice and juicy! I've got another one in my freezer that needs to be used...I'm thinking a lemon pepper next time?


Let the feast begin!


I think we will be living off of leftovers the rest of this week. Already planning for the next....


Sunday, March 4, 2012

Make Your Own Salsa- My Recipe!


I practically live off of salsa. No joke.
The hubs tries his best to get his share, but I'm quite a hog when it comes to this stuff.
Yesterday he poured the bag of chips in a bowl, topped the chips with salsa, and ate it with a spoon saying a new cereal was in town. We. Love. This. Stuff.
Love as in we made sure there will be a space for the ingredients to grow in our garden
so we can always have salsa on hand.
 Love as in I cook my chicken in it, pour it over every dish, and eat it for lunch on a regular basis.
After much recipe trying and tasting, we came up with our own salsa recipe!

Homemade Salsa

What you will need:

- 6 tomatoes, chopped
- 1 can fire roasted tomatoes (optional, for a roasted flavor. I just use it when its on sale!)
- 1/3 C. green onion, chopped
- 1/4 C. onion, chopped
- 1/4 C. fresh cilantro, chopped
- 2-3 fresh jalapeno peppers, seeded and chopped
- 3 cloves garlic, minced
- 1 heaping tsp. cumin
- 1 heaping tsp. black pepper
- 2 tsp. salt
- juice from one lime


Directions:

Toss all ingredients in food processor or blender and pulse until salsa has reached desired consistency.
If needed, adjust ingredients to your liking.
Eat, enjoy, and find yourself swearing you'll never get the store bought salsa again. :)

Notes:

- This makes a BIG batch of salsa. Feel free to cut in half, though we always seem to need more.
- The spicy level on this one is medium/hot. Cut down or increase jalapenos for what you like.
- I often substitute the jalapenos for 1/2 tsp. cayenne pepper, I always forget to buy jalapenos!
- The nice thing about salsa is that it is so customizable, tweek to your liking!
- Store in an air tight container in the fridge, it should keep fresh at least a week but honestly I haven't had mine in the fridge longer than three days!


Monday, January 23, 2012

Applesauce Cake Recipe

I know, I know, I just posted yesterday. I try to space my posts out a bit, but I am just way too excited to share this recipe with you guys! I originally found this on He and I, but I changed it just a wee bit to my likings. It really is to die for! So moist and not too sweet! And its so simple to make! Seriously, if you can make a cake from a box of cake mix, then you can easily make this. (Because that's what you use!)


Applesauce Cake

What you need:


- 1 box yellow cake mix plus the ingredients needed to make a yellow cake
- 2 cups of applesauce (I ended up just having 1 1/2 cups so I just threw in 1/2 cup of water too)
- Sugar mixture (1/4 cup white sugar, 2 teaspoons ground cinnamon)

The making:

-Preheat oven to 325 degrees
-Now make your cake batter, following the instructions on the back of the box. BUT, substitute water for  the applesauce.
- Grab a bunt pan, grease the inside (I used Crisco), and lightly sprinkle a little bit of your sugar mixture in there too.
- Pour some batter in your greased and sugar coated pan.
- Sprinkle some sugar mixture on top of your batter in your bunt pan.
- Pour some more batter in, and then more sugar mixture.
- Keep pouring and sprinkling until you run out of batter and sugar mixture. (This just makes sure you've got the cinnamon sugary goodness in every bite!)

Bake 40-50 minutes. *Make sure you sniff your house while this bad boy bakes, because it will work wonders on your house!*


When I pulled mine out of the oven, I was afraid that it hadn't baked long enough. But it turns out that everybody loved it more when it was on the moist side! This cake didn't even last 24 hours, YUM!

Don't be surprised if you find yourself thinking that you should stock up on yellow cake mix and applesauce the next time they go on sale after making this recipe! I know I am!


Thursday, January 19, 2012

My Top 5 Must Have's In The Kitchen

I loooooove my kitchen. It was the main reason I liked this house. Its a simple kitchen, but I just love putting it to work! And with kitchens come appliances and "lady tools." Here are my top 5 favorite "lady tools" for the wanna be chef in me:

- My convection oven. When we first moved in, we didn't have an oven so this bad boy worked hard to satisfy our needs. I still use it now if I need two ovens!

- My bread maker. We don't buy bread over here. Just one of our weirdnesses I guess. We prefer the whole wheat healthy, delicious homemade bread. Plus at like 30 cents a loaf, you really can't go wrong. Just put your ingredients in and push start! *Confession* I just barely learned how to bake bread by hand this week!


- My Kitchen Aid. Well technically, my hand me down Kitchen Aid. A steal huh? I especially love the citrus juicer attachment. I've been dying to get my hands on the pasta attachment. (Thanks Giulia for teaching me how to make true Italian!)


- My Magic Bullet. Love this thing. I just made a celery, orange, kiwi smoothie this morning with it! It puts my blender to shame, where is my blender anyways???


- My Croc Pot. I use this about 4 times a week. Does that say enough? This thing saves us! With our hectic schedules, I just throw my ingredients in and come home to a hot dinner. This is probably the main reason why we've been able to dinner every night. A five star in my book.


What are your favorite "lady tools?"


Wednesday, October 19, 2011

Homemade Applesauce

Can you say "yummmmmmmmay?"

I often find myself saying that when I make this stuff!

I originally found a recipe on Allrecipes for some tasty applesauce, but I've switched things around so much I think I'll be safe calling this my own creation.

Its perfect for fall.
And leaves your house smelling divine.

The key to this applesauce, is the oven. Most recipes tell you to boil your apples over the stove, dump a pound of sugar in, then boil over the stove some more.
 (Though if anybody has a good sauce recipe over the stove, I'd love to try it.)
But this recipe, this applesauce is done in the oven. And as many of you know, ovens tend to lock in flavor.

Its a pretty simple recipe, so give it a try.

You can easily cut it in half, but I just end up doing the full recipe because we go through it quick.


Supplies Needed: apples, white and brown sugar, ground cinnamon, vanilla extract, an oven, baking dishes, and a potato masher.

Homemade Applesauce:

20 apples (I normally use Gala)
1 cup white sugar
1/2 cup brown sugar
2 1/2 tsp. ground cinnamon
2 1/2 tsp. vanilla extract

*Preheat oven to 350 degrees, baking time will be about an hour*


1- Peel, slice, and place all apples in two baking dishes. Two 9"x13" dishes would be great, but because all of my stuff is packed up at the moment (we're moving shortly), I just used what I had and it still turned out great.

2- Combine both sugars, cinnamon, and vanilla in mixing bowl and mix well together.

3- Divide sugar mix in two parts and sprinkle each half of the mix on top of the apples in baking dishes.


4-  Cover dishes with Aluminum Foil and place in heated oven for about one hour. (You'll know the apples are done when your house smells fabulous and apples are easy to pierce with a fork.)


5- Take apples out of the oven, remove foil, and start mashing them up with your potato masher until desired consistency. You could even blend them in your blender, but I like them with a bit of texture so I just leave the work to my hand mashing skills.

And be sure to stop every now and then to smell the apple and cinnamon...yummmmmay.


You may notice a bit of liquid hanging around by your apples. Leave it, do not strain, those are all of your spices and they'll mix right in once your apples are mashed.


6- Combine both baking dishes into one, and store in an air tight container in the fridge. We used jars. I've never actually canned applesauce, we go through it too quick to even bother.

Eat eat eat away! This stuff is great warm or cold with ice cream, or by itself. I think I'll add a crumbly topping for a yummy dessert. :)


Thursday, September 29, 2011

Making an Attempt to Welcome Fall

Yesterday I made this Fall wreath to hang on our front door because lets be honest, our house could use some major color. All I had to do was take a simple starter wreath from the Dollar Tree, a package of 200 hundred coffee filters also from the Dollar Tree, and got to work dipping the tips of the filters into diluted paint, then hot glued the newly colored filters onto my wreath. I only used a portion of my filters, meaning that I've got leftovers for another project in the future! Yay for those penny saving projects!


Testing it out on my S-I-L's door because mine could use a good scrubbin'


I've also been in the mood to try out some homemade apple sauce. When I saw the price of apples at the store (69 cents a pound) today, I knew that's what I'd be spending the rest of my day doing!
I was surprised at how easy it was.
1. Peel, cut and place apples in baking dish
2. Sprinkle with a bit of sugar, cinnamon, and vanilla
3. Bake for an hour, mash with potato masher thinger
and Ta-Da!


Enjoy it fresh out of the oven with a swirl of whipped cream and try to not let those naughty jars tempt you into eating it all in one sitting. :)


Welcome, Fall! May you be here long enough to scare Winter away.

Friday, September 23, 2011

Was it really that easy?

We eat a lot of butter around this home.
 And when I'm talking "this home" I mean wherever I am located at the time.
 And when I say "butter" I mean the real stuff, not the "I cant believe its not butter" stuff.
 (Butter snobbish, I know.)
 Any who, my mom's the same way, we were talking about how much butter is right now and living on a newly wedded budget, its really hard to spend so much on something we use everyday. My mom says they use 15 dollars worth of butter every week at my parent's house. That's a lot to spend on butter!
 So as we were brainstorming of ways to save money but still enjoy our buttery goodness, we came up with the idea of, "hey, why don't we just make it? It cant be that hard!"
So we whipped up the little butter tutorial, got out our blender and electric hand mixer, a bowl and spatula, some salt, and some milk from our cute little cow (she just had a baby last week, too cute!).
 All we had to do was take the cream on top of the milk and put it in our blender on low for a few minutes. It turned to whipping cream. We could have stopped there, but we let it turn into heavy whipping cream (good to know for recipes that call for whipping and heavy whipping cream!).
We then put the cream in a bowl, turned on our electric hand mixer, and let it work its magic for a few minutes.
The cream started to separate from the milk (aka the butter was forming) and then we just strained the butter to get rid of the milk.
 (The milk we strained was actually buttermilk, I wanted to save it for some cornbread while we were at it!) Then we just squished the butter into a little blob in the bowl and drained the rest of the milk out, added a bit of salt, and Ta-Da!


Just a portion of our finished product. It really is not so yellow in real life, but I had to work with the lighting some how.

If you think I am going to split the goodness and milk with my mom to get organic whole milk, whipping cream, heavy whipping cream, buttermilk, and butter from our cute little cow (oh how much I love Miss Moo right now, and her baby, Daffodil is pretty cute too :) for just pennies, then you my friends, have thought right! It really couldn't get much easier than this!

Tuesday, December 7, 2010

Winter Goodies


YUMMMY! I love to bake, its my favorite! I would bake goodies everyday and eat them all up if it weren't for the fact that they're unhealthy and fattening. Darn it! I think I found my new favorite treats this year though. Next time I make this plate of goodies (hopefully soon), I would like to take a plate around to my fellow friends. This week I ate way too many and had to send a giant plate home to Jimmy's family, so let me share some of my unhealthiness and fattiness with you! :)